Struggling with drawing heads can be discouraging, especially when proportions, angles, and shapes don’t seem right. But don’t lose hope—there's an easy and effective method for beginners that can help you overcome these challenges: the Loomis method. Developed by Andrew Loomis, an American illustrator and art instructor, this method simplifies the process of drawing heads by breaking it down into manageable shapes and lines.
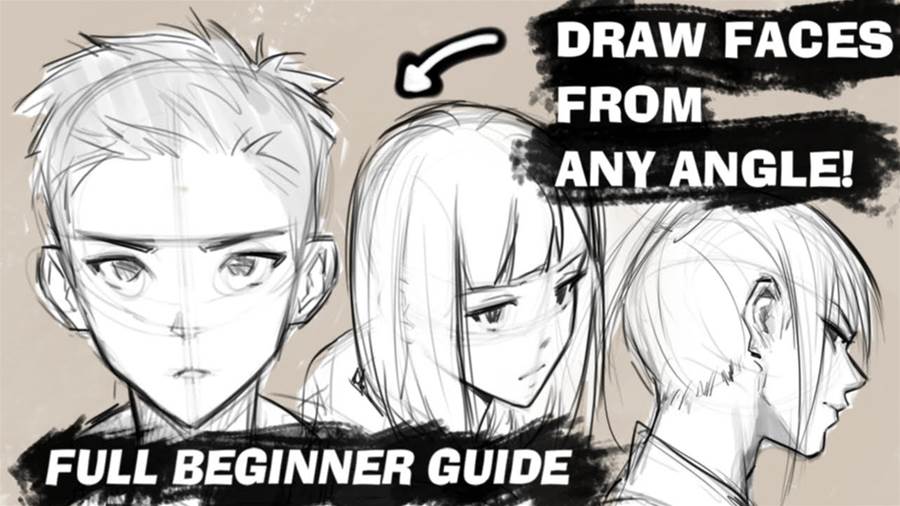
To start, let’s explore drawing a head from the front view using Loomis's approach.
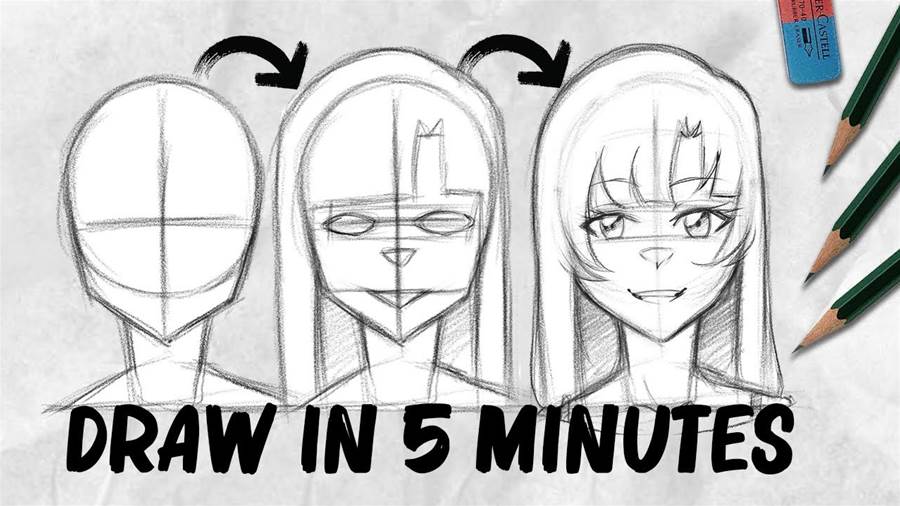
Begin by sketching a circle. It doesn't need to be perfect—just as close as you can get. Remember, the head is more oval-shaped than a perfect circle, so adjust by trimming a small section from each side of the circle, roughly one-sixth to one-eighth of the width.
Next, draw two intersecting lines through the middle of the circle. These lines will guide the direction of the head. For a front view, the vertical line is key, and the horizontal line indicates where the eyebrows will be positioned.
Divide the upper half of the circle into thirds. The highest mark on this division represents the hairline. Apply the same technique to the lower half to find the nose line. Extend the vertical line downward to mark the chin line. The chin should be approximately the same distance from the nose as the eyebrows are from the nose.
For the jawline, draw curves from the bottom of the circle to connect with the chin, and then add the neck.
This creates a basic outline of the face. Keep in mind that this method gives a general shape; individual facial features will vary and need adjustments for specific likenesses.
To draw a head from a different angle, such as a profile, start with a circle but adjust the shape to reflect the side view. Shave off the side of the circle that is not visible due to the perspective. Draw the cross lines at the appropriate angles to match the head’s direction. From here, sketch the hairline, nose line, and chin line, ensuring the vertical line is parallel to the cross lines.
Complete the drawing with the jawline, neck, and cheek lines.
For a head looking up from the front, use the circle method again, but this time curve the horizontal line upwards to indicate the upward gaze. The spacing between lines will increase as you go down. Draw the chin line and extend the neck, finishing with the cheek lines.
To depict a head looking up and to the side, start similarly with a circle, adjust the sides, and draw the cross lines. Curve the horizontal line upward and proceed with the chin and jawline.
Complete the neck and cheeks.
Drawing a head looking down from the front involves starting with a circle and curving the horizontal line downward. The space between lines will shorten as you move down. Add the chin line, jawline, and neck, and finish with the cheeks.
Finally, for a head looking down in profile, use a circle, adjust the shape, and draw the cross lines. Extend these lines to indicate the eyebrows, hairline, and nose.
Then, extend the vertical line parallel to the cross and complete the drawing with the chin, jawline, neck, and cheeks.
Though this tutorial covers a lot of information, don't be discouraged if it seems overwhelming. Rewind and revisit the steps as needed. The key to mastering these techniques is consistent practice. With time, you'll become proficient at drawing heads from any angle. Stay tuned for future videos where we'll dive into adding facial features to complete your sketches.
The article is not finished. Click on the next page to continue.
Next page